매번 sql injection 이나 XSS 등등 공격 기법을 사용해보기 위해 가능한 주어진 사이트들을 돌아다니다가
나도 나만의 실습 사이트를 하나 마련해놓으면 좋겠다 싶어서 기획하게 됐다.
시작전 먼저 간단하게 구성을 해보았다.
1. 어떤 사이트를 만들 것 인가?
ㄴ xss와 sql injection같은 여러가지 실습을 위해서는 로그인, 게시판 등등이 있으면 좋을 것이다.
따라서 커뮤니티 사이트를 하나 만들자.
2. 테마는?
ㄴ 내가 좋아하는 "리그오브레전드" 테마로 가져와서 커뮤니티를 꾸며볼 것
3. 필요한 것?
ㄴ 기본적으로 웹을 띄워주기 위한 편리한 Flask , SQL 인젝션까지 실습하기 위함이니까 간편한 Sqlite 3
Flask 를 사용하기 위해 python, 리그오브레전드 테마 css
1. 파일 구조
먼저 파일들을 정리해두기 위한 폴더의 구조를 짜주었다.
my site/
├── app.py          #flask 애플리케이션의 진입점. 애플리케이션 설정, 라우팅 및 실행 코드
├── templates/		#HTML 템플릿들을 모아두는 폴더.
└── static/			#CSS, JS, 이미지 등 정적 파일들을 모아두는 폴더.
	└── imgaes/		#이미지들을 모아두는 폴더
2. app.py 설정
기본적인 flask 애플리케이션 코드를 넣어주었다.
from flask import Flask, render_template, request, redirect, url_for

app = Flask(__name__)

users = {
    'admin': 'password123',
    'user': 'userpass'
}

@app.route('/')
def index():
    return render_template('index.html')

@app.route('/login', methods=['GET', 'POST'])
def login():
    if request.method == 'POST':
        username = request.form['username']
        password = request.form['password']
        if username in users and users[username] == password:
            return redirect(url_for('index'))
        else:
            return render_template('login.html', error=True)
    return render_template('login.html')

if __name__ == '__main__':
    app.run(debug=True)
from flask import Flask, render_template, request, redirect, url_for
Flask와 관련된 여러 기능들을 임포트합니다.
- Flask: Flask 애플리케이션을 생성하는 클래스입니다.
- render_template: 템플릿 파일(HTML 파일)을 렌더링하는 함수입니다.
- request: HTTP 요청 데이터를 다루기 위한 객체입니다.
- redirect: 사용자를 다른 URL로 리디렉션하는 함수입니다.
- url_for: 주어진 함수 이름에 해당하는 URL을 생성하는 함수입니다.
app = Flask(__name__)
Flask 애플리케이션 인스턴스를 생성합니다.
- __name__은 현재 모듈의 이름을 전달합니다. 이는 Flask가 애플리케이션의 루트 디렉토리를 찾는 데 사용됩니다.
users = {
'admin': 'password123',
'user': 'userpass'
}
- 아이디와 비밀번호 데이터를 미리 설정해주었다. (추후에 Sqlite3 을 사용하면서 지울예정. 그 전에 미리 데이터를 설정해두었음!)
@app.route('/')
def index():
return render_template('index.html')
- ' / ' URL 경로를 처리해주는 부분. 여기선 url에 /index.html 을 입력하게되면 index.html로 이동시켜준단 뜻!
@app.route('/login', methods=['GET', 'POST'])
def login():
if request.method == 'POST':
username = request.form['username']
password = request.form['password']
if username in users and users[username] == password:
return redirect(url_for('index'))
else:
return render_template('login.html', error=True)
return render_template('login.html')
- /login 페이지에 대해서 처리하는 부분. request의 method 가 POST방식이라면
사용자가 입력한 username과 password를 가져온다. 그후 users 안에 있는 데이터와 일치한지 확인해서
일치한다면 index로 리다이렉션 시켜주고 아니라면 login.html에 남아있게하며 error를 true로 바꾸어준다.
if __name__ == '__main__':
app.run(debug=True)
- 이 코드 블록은 모듈이 직접 실행될 때만 Flask 개발 서버를 시작합니다.
- debug=True는 디버그 모드를 활성화하여 코드 변경 시 서버를 자동으로 다시 로드하고, 오류 발생 시 디버깅 정보를 표시합니다.

코드를 실행시키고 브라우저에서 127.0.0.1로 들어가보면 웹 애플리케이션은 잘 실행되는것을 확인. (= 웹 잘 띄워짐)
허나 보면 탬플릿을 찾을수 없다고 나오는데 이는 아직 html 파일들을 만들어두지 않았기때문이다.
3. HTML , CSS 설정
먼저 내가 원하는 "리그오브레전드" 테마로 사이트를 만들기 위해 코드펜을 탐색했다.
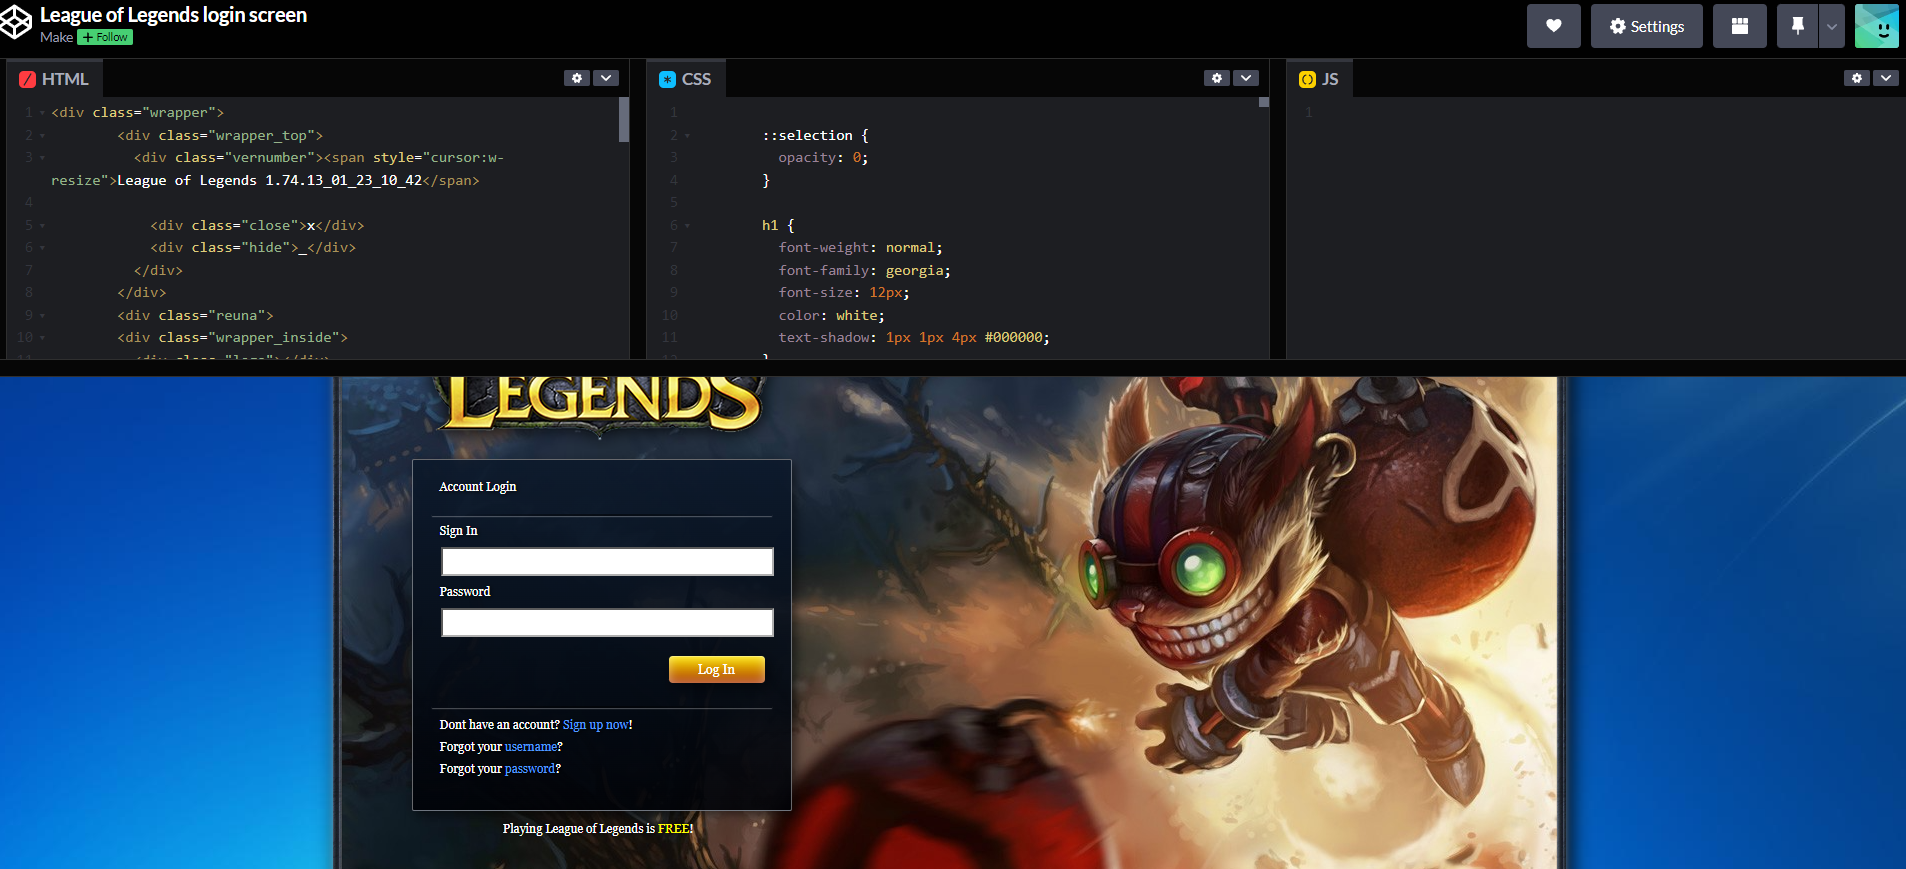
긴 탐색 끝에 마음에 드는것을 찾았다!
해당 코드들을 가져와서 나에게 맞게끔 수정했다.
(나에게 맞게끔 수정하기 위해서는 코드를 거의 이해하고 넘어가야해서 보면서 내것으로 흡수하는데만 2시간정도 걸렸다..)

그다음에 가져온 HTML과 CSS을 폴더안에 분리하여 저장하고
이미지 파일들을 저장해서 폴더안에 정리해두었다.
my site/
├── app.py
├── templates/
        └── index.html		#가장 기본이되는 메인 페이지
        └── layout.html		#공통 요소들을 지정해둔 html
└── static/
	└── styles.css
	└── imgaes/
    	└── 1.jpg , 2.jpg , 3.jpg . . .
생각을 해보면 내가 가져온것은 로그인 페이지 뿐이다.
메인페이지도 로그인 페이지와 비슷하게 같은 테마로 맞춰놔야 페이지가 이동 될때마다 가독성이 있을 것이다.
만약 다 다르게 해둔다면 로그인 페이지에선 이랬던 테마가 메인페이지로 이동되니 또 다르게 바뀌어있고 이렇다보면
정신도없고 한눈에 알아보기 힘들것이다.
따라서 가져온 css를 조금씩 수정했다.
.login_wrapper {
	background: -moz-linear-gradient(top,  rgba(12,25,43,0.92) 0%, rgba(0,2,7,0.91) 100%);
	background: -webkit-gradient(linear, left top, left bottom, color-stop(0%,rgba(12,25,43,0.92)), color-stop(100%,rgba(0,2,7,0.91)));
	background: -webkit-linear-gradient(top,  rgba(12,25,43,0.92) 0%,rgba(0,2,7,0.91) 100%);
	.
    .
    .
}

.login_top {
	width: 325px;
	margin: 20px auto;
}

.login_middle input {
	border-width: 1px solid;
	border-color: #afafaf;
	width: 100%;
	.
    .
    .
}

.login_middle {
	width: 325px;
	margin: 2px auto;
}
이런식으로 되어있던 css에서 추후 유지보수를 생각하여 변수 이름들을 바꾸었다. (왜냐? 메인페이지에도 쓰일 css인데
변수 이름이 login 으로 되어있으니 공통적으로 쓰이는 css로 이름을 바꾸기위해 변수이름을 바꿔주는 작업)
(만약 실무라고 생각하였을때 다른 누군가가 이것을 보면 메인페이지도 그렇고 게시판도 그렇도 왜 공통적으로 쓰이는 css의 변수 이름들이 login이지? 라고 생각할 수 있기때문)
.wrapper {
	background: -moz-linear-gradient(top,  rgba(12,25,43,0.92) 0%, rgba(0,2,7,0.91) 100%);
	background: -webkit-gradient(linear, left top, left bottom, color-stop(0%,rgba(12,25,43,0.92)), color-stop(100%,rgba(0,2,7,0.91)));
	background: -webkit-linear-gradient(top,  rgba(12,25,43,0.92) 0%,rgba(0,2,7,0.91) 100%);
	.
    .
    .
}

.top {
	width: 325px;
	margin: 20px auto;
}

.middle input {
	border-width: 1px solid;
	border-color: #afafaf;
	width: 100%;
	.
    .
    .
}

.middle {
	width: 325px;
	margin: 2px auto;
}
이런식으로 변수는 알아보기 쉽게 이름을 바꿔주어야 함!
<div class="wrapper">
				<div class="wrapper_top"> # 여기@@@@@@@@@
					<div class="vernumber"><span style="cursor:w-resize">League of Legends 1.74.13_01_23_10_42</span>

						<div class="close">x</div>
						<div class="hide">_</div>
					</div>
				</div>
				<div class="reuna">
				<div class="wrapper_inside">
					<div class="logo"></div>
					<div class="login_wrapper"> # 여기@@@@@@@@@

						<div class="login_top"><h1>Account Login</h1></div> # 여기@@@@@@@@@
						<hr>
						<div class="login_middle"> # 여기@@@@@@@@@
<!-- LOGIN FORM -->
							<form>
    <h1>Sign In</h1>
    <input type="text">
    <h1>Password</h1>
    <input type="password"><br>

                <button>Log In</button>
  </form></div>
						<hr>
						<div class="login_bottom"><a href="https://signup.leagueoflegends.com/en/signup/index" target="_blank"><h1>Dont have an account? <span style="color:#549CFF;">Sign up now</span>!</h1></a>
							<a href="https://euw.leagueoflegends.com/account/recovery/username" target="_blank"><h1>Forgot your <span style="color:#549CFF;">username</span>?</h1></a>
							<a href="https://euw.leagueoflegends.com/account/recovery/password" target="_blank"><h1>Forgot your <span style="color:#549CFF;">password</span>?</h1></a>
						</div>
<!-- LOGIN FORM -->
					</div>
					<div class="playfree"><center><a href="https://signup.leagueoflegends.com/en/signup/index"><h4>Playing League of Legends is <span style="color:yellow;">FREE</span>!</h4></a></center></div>

				<div class="wrapper_bottom">
					<div class="riotlogo"></div>
					<div class="terms"><a href="http://eune.leagueoflegends.com/legal/termsofuse" target="_blank"><h3>Terms of use</h3></a>
						<form action="">
						<input type="checkbox" name="vehicle" title="">Disable Login Music<br>
						<input type="checkbox" name="vehicle" title="This will improve performance on some machines.">Disable Menu Animations
						</form>
					</div>
					<div class="pvpnet"></div>
				</div>
					</div>
				</div>

			</div>
그럼 css에 맞춰서 html의 변수이름들도 똑같이 수정해주자!
그리고 나서
요소들을 감싸주는 전체적인 틀하고
이 로그인 폼을 감싸주는 네모난 창과

로그인 버튼 등등 이 요소들을 공통적으로 다른페이지에서도 써야 이질감이 없을것 이기 때문에
css에서 이 요소들을 찾아준다.
.wrapper {
	background-image: url('../static/images/1.jpg');
	background-repeat: no-repeat;
	background-position: bottom;
	position: fixed;
	top: 50%;
	left: 50%;
	transform: translate(-50%, -50%);
	transform: scale(1.15); /* 크기 조정 */
	margin-left: -616px;
	margin-top: -396px;
	width: 1233px;
	height: 778px;
	background-color: #2e3443;
	border-radius: 4px;
	-webkit-box-shadow: 0px 0px 7px rgba(255,255,255,0.4),
	inset 0px 0px 1px rgba(0,0,0,1),
	5px 5px 20px black;
	display: flex; /* Flexbox 적용 */
	flex-direction: column; /* Flexbox 방향 설정 */
	align-items: center; /* 수평 중앙 정렬 */
}

.wrapper_top {
	border-radius: 4px;
	width: 1231px;
	height: 21px;
	background-image: url(../static/images/2.jpg);


}

.wrapper_inside {
	background-image: url(../static/images/3.jpg);
	background-position: center;
	background-repeat: no-repeat;
	width: 1215px;
	height: 717px;
	border-radius: 5px;
	margin: 0px auto;
	animation:move 2s infinite;
	-webkit-animation:move 2s infinite;
	-webkit-box-shadow: 0px 0px 7px rgba(255,255,255,0.4),
	inset 0px 0px 1px rgba(0,0,0,1);
	display: flex; /* Flexbox 적용 */
	flex-direction: column; /* Flexbox 방향 설정 */
	justify-content: center; /* 수직 중앙 정렬 */

}
전체적인 틀은 이것.
.text_wrapper {
	background: -moz-linear-gradient(top,  rgba(12,25,43,0.92) 0%, rgba(0,2,7,0.91) 100%);
	background: -webkit-gradient(linear, left top, left bottom, color-stop(0%,rgba(12,25,43,0.92)), color-stop(100%,rgba(0,2,7,0.91)));
	background: -webkit-linear-gradient(top,  rgba(12,25,43,0.92) 0%,rgba(0,2,7,0.91) 100%);
	background: -o-linear-gradient(top,  rgba(12,25,43,0.92) 0%,rgba(0,2,7,0.91) 100%);
	background: -ms-linear-gradient(top,  rgba(12,25,43,0.92) 0%,rgba(0,2,7,0.91) 100%);
	background: linear-gradient(to bottom,  rgba(12,25,43,0.92) 0%,rgba(0,2,7,0.91) 100%);
	filter: progid:DXImageTransform.Microsoft.gradient( startColorstr='#eb0c192b', endColorstr='#e8000207',GradientType=0 );
	border-radius: 2px;
	border-style: solid;
	border-width: 1px;
	width: 378px;
	/*height: 350px; */
	padding: 5px; /* 내부 여백 추가 */
	margin-left: 70px;
	border-color: rgba(255,255,255,0.4);
	-webkit-box-shadow:  4px 4px 10px  rgba(0, 0, 0, 0.5);
	box-shadow:  4px 4px 10px  rgba(0, 0, 0, 0.5);

}
로그인 폼을 감싸주는 네모난 틀은 이것인데 이름이 login_wrapper 로 되어있어 text_wrapper 로 바꾸어 주었다.
.custom_button {
	color:#ffffff;
	font-family: georgia;
	cursor: pointer;
	font-size: 13px;
	margin-top: 18px;
	margin-bottom: 23px;
	height: 27px;
	width: 96px;
	float: right;
	background: rgb(252,227,0);
	background: -moz-linear-gradient(top,  rgba(252,227,0,1) 0%, rgba(173,59,5,1) 100%);
	background: -webkit-gradient(linear, left top, left bottom, color-stop(0%,rgba(252,227,0,1)), color-stop(100%,rgba(173,59,5,1)));
	background: -webkit-linear-gradient(top,  rgba(252,227,0,1) 0%,rgba(173,59,5,1) 100%);
	background: -o-linear-gradient(top,  rgba(252,227,0,1) 0%,rgba(173,59,5,1) 100%);
	background: -ms-linear-gradient(top,  rgba(252,227,0,1) 0%,rgba(173,59,5,1) 100%);
	background: linear-gradient(to bottom,  rgba(252,227,0,1) 0%,rgba(173,59,5,1) 100%);
	filter: progid:DXImageTransform.Microsoft.gradient( startColorstr='#fce300', endColorstr='#ad3b05',GradientType=0 );
	border-radius: 4px;
	border-width: 0px;
	box-shadow: inset 0px 1px 0px rgba(255,255,255,0.3),
		inset 0px 0px 10px rgba(255,255,255,0.5),
		5px 5px 15px rgba(0,0,0,0.5);
}
로그인 버튼은 이것인데 이름이 button으로 되어있다. 그렇다면 내가 다른 페이지에서도 button을 사용할때 의도치않게 그 버튼도 같은 css로 적용이 될 것이다. 따라서 내가 원할때만 버튼의 css를 이 버튼으로 적용하기위해 이름을 custom_button으로 수정해주었다. 따라서 내가 앞으로 버튼들마다 구분해서 다르게 css를 적용할 수 있을것이다.
자 이제 그럼 제일먼저 layout.html 부터 만들어보자.
layout.html
<!-- templates/layout.html -->
<!DOCTYPE html>
<html lang="en">
<head>
    <meta charset="UTF-8">
    <meta name="viewport" content="width=device-width, initial-scale=1.0">
    <title>{% block title %}Default Title{% endblock %}</title>
    <link rel="stylesheet" href="{{ url_for('static', filename='styles.css') }}">
</head>
<body>
    <div class="wrapper">
        <div class="wrapper_top">
            <div class="vernumber">
                <span style="cursor:w-resize">League of Legends 1.74.13_01_23_10_42</span>
                <div class="close">x</div>
                <div class="hide">_</div>
            </div>
        </div>
        <div class="reuna">
            <div class="wrapper_inside">
                <div class="logo"></div>

                {% block content %}{% endblock %}  # 여기에!! 다른 페이지 코드들을 넣는다는 뜻!

                <div class="playfree">
                    <center>
                        <a href="https://signup.leagueoflegends.com/en/signup/index">
                            <h4>여기는 가짜 사이트입니다. <span style="color:yellow;">진짜 사이트 방문하기</span>!</h4>
                        </a>
                    </center>
                </div>
                <div class="wrapper_bottom">
                    <div class="riotlogo"></div>
                    <div class="terms">
                        <a href="http://eune.leagueoflegends.com/legal/termsofuse" target="_blank">
                            <h3>환경설정</h3>
                        </a>
                        <form action="">
                            <input type="checkbox" name="disable_login_music" id="disable_login_music">
                            <label for="disable_login_music">로그인창 노래 끄기</label><br>
                            <input type="checkbox" name="disable_menu_animations" id="disable_menu_animations">
                            <label for="disable_menu_animations">로그인창 애니메이션 끄기</label>
                        </form>
                    </div>
                    <div class="pvpnet"></div>
                </div>
            </div>
        </div>
    </div>
</body>
</html>
먼저 로그인 페이지가 아닌 다른 페이지 전부까지해서 생각했을 때
공통적으로 들어가는 창틀부분과 요소들을 layout.html 안에 적어넣고 저장한다.
그후 메인이 되는 index.html 에선
index.html
{% extends 'layout.html' %}
{% block title %}Main Page{% endblock %}

{% block content %}
    <div class="text_wrapper">
      <div class="top">
        <h1>Welcome to league of legends Clone!</h1>
      </div>
	<hr>
      <div class="middle">
        <p>박재형의 연습 사이트 입니다.</p>
	<p>이곳은 본인의 연습을 위해 만든 사이트이며 가짜 사이트임을 알립니다.</p>
        <a href="{{ url_for('login') }}">
            <button class="custom_button">로그인하기</button>
        </a>
      </div>
    </div>
{% endblock %}
{% extends 'layout.html' %} 을 적어넣어 layout.html 을 불러온다.
앞으로 공통적으로 다른 페이지 파일들에서도 layout.html 만 불러와 간단하게 요소들을 넣을수 있는것.
쉽게말해 index.html 코드들이 layout.html 코드 중간의 {% block content} 와 {% endblock} 의 사이로 들어가는 것임!
공통적으로 들어가는 코드들은 layout.html 로 빼두고 공통적이지 않은 코드들만 작성해서 layout.html 코드를 가져와 그사이에 넣는 것. 이렇게 함으로써 한눈에 알아보기 쉬워지며 가독성이 업 됨!
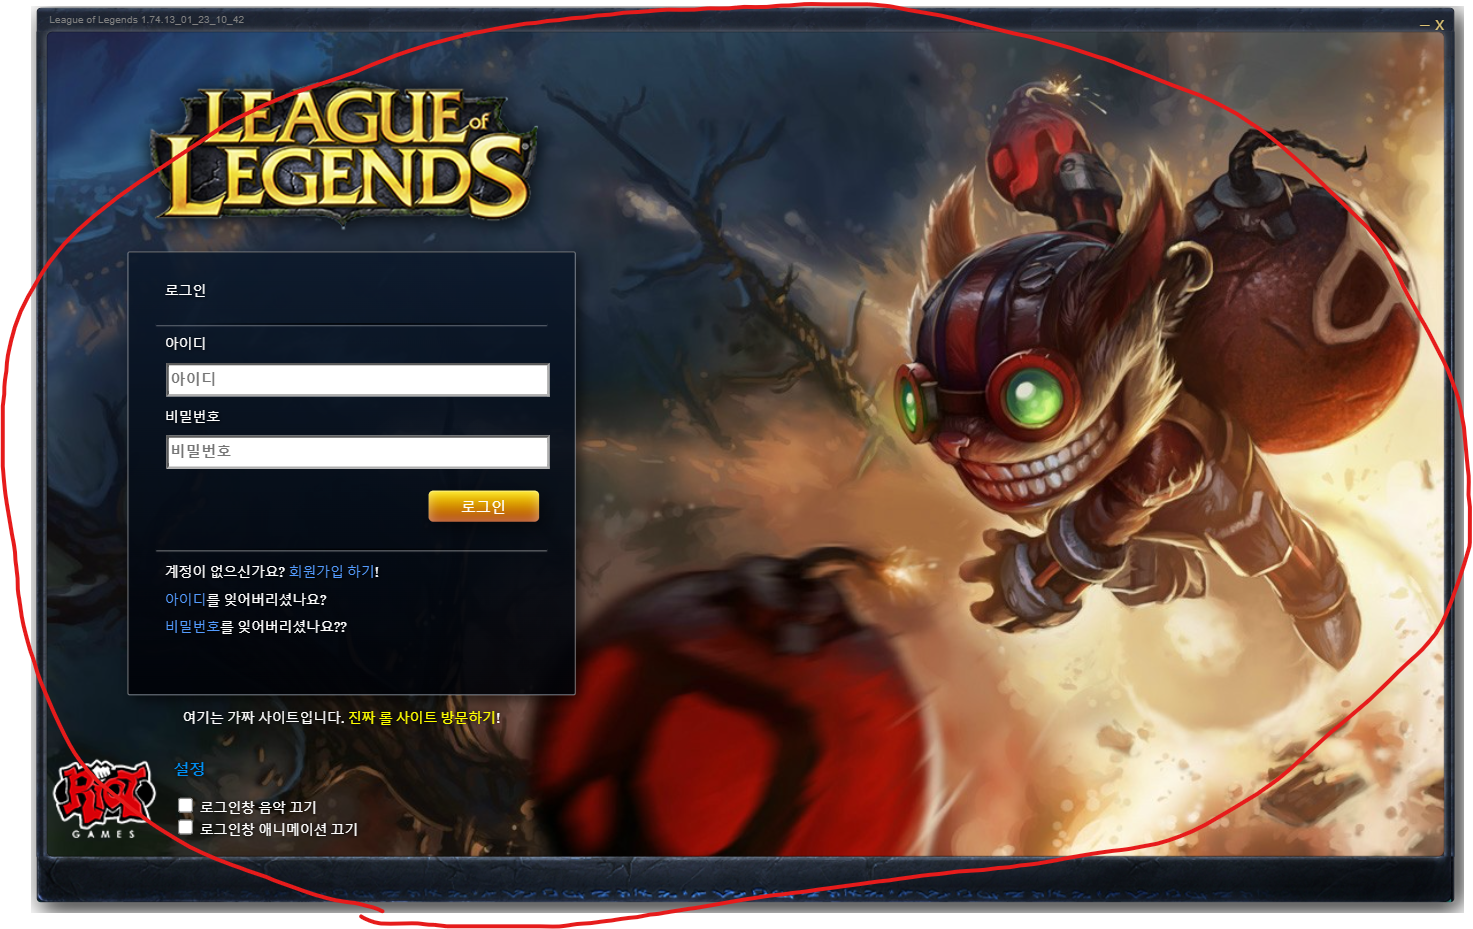
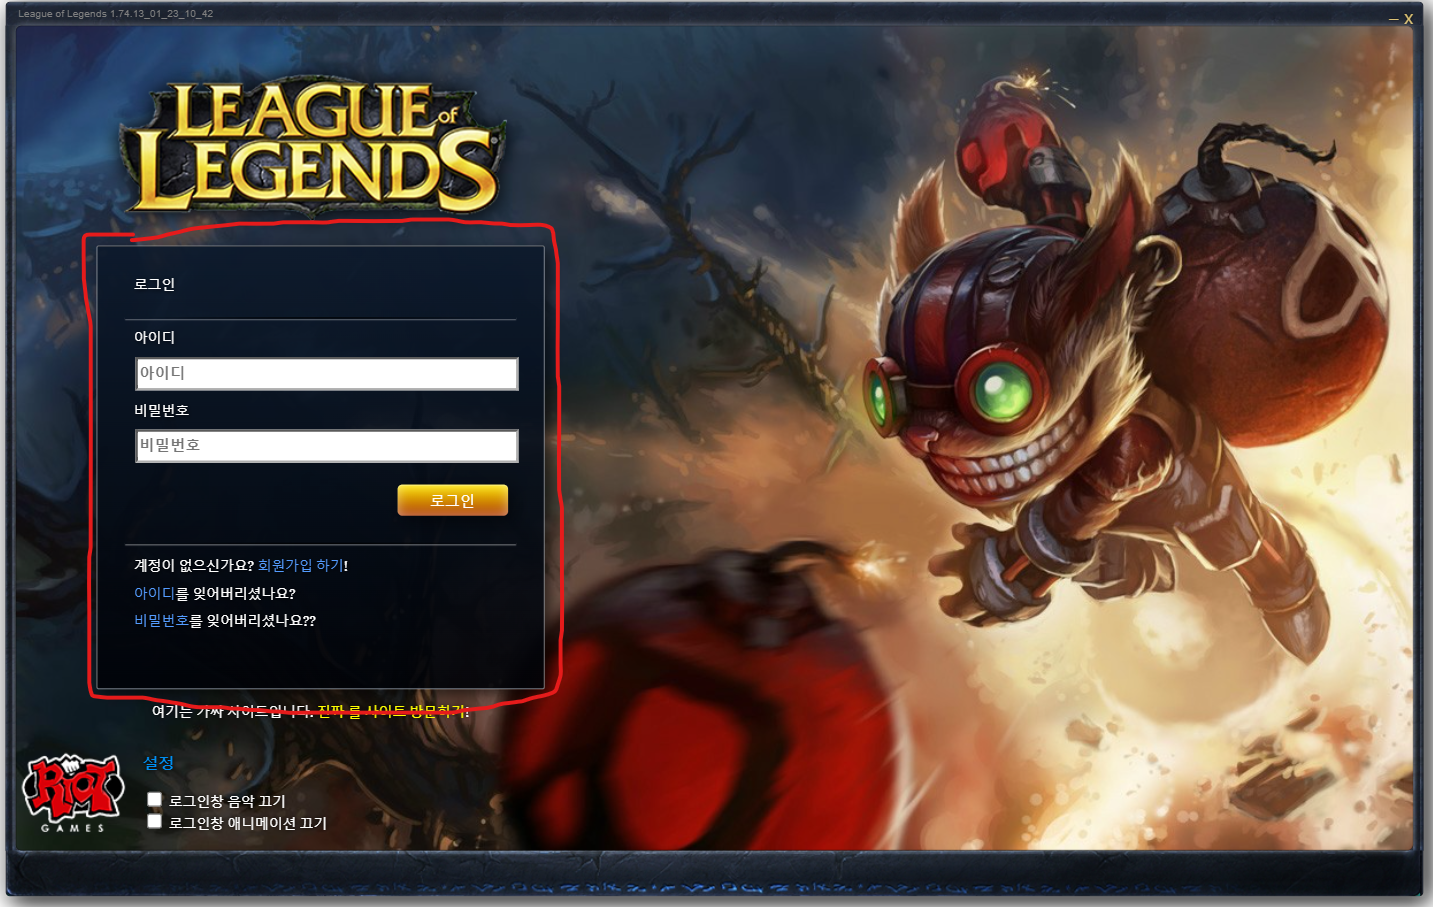
그럼 로그인 페이지도 공통적인 부분은 빼고 알아보기 쉽게 다시 정리하게 되면
login.html
<!-- templates/login.html -->
{% extends 'layout.html' %}
{% block title %}login page{% endblock %}

{% block content %}
                <div class="text_wrapper">
                    <div class="top">
                        <h1>로그인</h1>
                    </div>
                    <hr>
                    <div class="middle">
    			{% if error %}
        			<p style="color: red;">Invalid username or password.</p>
  		  	{% endif %}
                        <!-- LOGIN FORM -->
                        <form method="POST">
                            <h1>아이디</h1>
                            <input type="text" placeholder="아이디" name="username">
                            <h1>비밀번호</h1>
                            <input type="password" placeholder="비밀번호" name="password"><br>
                            <button type="submit" class="custom_button">로그인</button>
                        </form>
                    </div>
                    <hr>
                    <div class="login_bottom">
                        <a href="/join">
                            <h1>계정이 없으신가요? <span style="color:#549CFF;"> 회원가입 하기</span>!</h1>
                        </a>
                        <a href="https://euw.leagueoflegends.com/account/recovery/username" target="_blank">
                            <h1> <span style="color:#549CFF;">아이디</span>를 잊어버리셨나요?</h1>
                        </a>
                        <a href="https://euw.leagueoflegends.com/account/recovery/password" target="_blank">
                            <h1> <span style="color:#549CFF;">비밀번호</span>를 잊어버리셨나요??</h1>
                        </a>
                    </div>
                </div>
{% endblock %}
이렇게 되는 것!
이제 app.py 를 실행시키고 127.0.0.1로 들어가면


1편은 여기까지 적겠습니다!
2편에선 회원가입 페이지와 sql 연동에 대해 작성해보겠습니다.
'창작물' 카테고리의 다른 글
| 나만의 실습 사이트 만들기 (2.5편) (0) | 2024.06.18 |
|---|---|
| 나만의 실습 사이트 만들기 (2편) (3) | 2024.06.18 |
| 행맨 게임 (Hangman Game) 코드 창작 (2) | 2023.07.07 |
| 랜덤하게 로또번호를 만들어 출력시켜주는 코드 (0) | 2023.07.05 |
| 파이썬 코드 창작 - 아이디 비밀번호 길이 적합도 확인 (4) | 2023.07.04 |